A plant-forward perspective can protect your garden from pests and disease.
by Hannah Ross
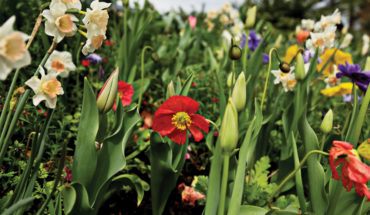
July is here and the days stretch as long as saltwater taffy. At last, the plants we’ve tended all spring are lush and loaded with bright flowers and ripening fruits. It’s a startling alchemy that never grows old for gardeners— watching tiny seeds erupt into towering plants, realizing their humble destinies to grace our dinner plates.
This warm and wet season welcomes all kinds of life, and it’s inevitable that some plants will be squelched by pests or disease. If you’ve ever gardened in the South, you likely know the deflated feeling of going to pick that squash that was almost ready yesterday, only to find the entire plant melted on the ground like a forgotten ice cream cone. Abundance in summer is a certainty— and that applies to the things we nurture, as well as the pests and disease that leave us feeling frustrated and defeated.
So how do we navigate summer gardening in the face of pest and disease, while retaining some joy in the process? I have tips to share from my own experience, as well as resources to recommend.
Before getting caught up in worry or frustration about pests, keep in mind that the presence of pests or disease in your garden is not a sign of failure, but an indication of a busy ecosystem, constantly sending us messages about its needs and vulnerabilities.
Shift your mindset about pests
It can help to reframe our mindset from that of pest eradication to that of plant support. This more positive framing encourages us to support healthy plants and ideal conditions first, and not to become overly worried or militant about pests. Instead of resorting to spraying pesticides immediately, Integrated Pest Management (IPM) guides gardeners to use cultural, physical, and biological methods before resorting to chemical sprays — methods like planting in proper conditions for optimum health, removing spent plant debris, handpicking destructive bugs and creating physical barriers to block pests.
Synthetic pesticides are detrimental to pollinators and other “good bug” populations (not to mention the health of ourselves, our soil and our water). Even spraying organic pesticides in the wrong manner (like during the day while pollinators are active) can wreak havoc on the ecosystem. For each issue below, I’ll offer some IPM-based approaches to management that can help you intercept the problem before it explodes.
Squash out squash vine borers
There are few things as dramatic as the swift devastation brought upon cucurbits by squash vine borers. One day, you have a thriving squash plant that is loaded with flowers and fruit. The next day, you find the entire plant collapsed in a heap on the ground. It is, simply put, a giant bummer.
The bad news? You’re unlikely to avoid squash vine borers in this climate.
The good news? There are ways to reduce their prevalence and outsmart their lifecycle.
Adult squash bugs overwinter under garden debris and in the soil. In spring, they lay eggs, which you can look for and destroy on the undersides of leaves. Once nymphs hatch, they feed aggressively on the vines. Affected squash vines will show signs of damage towards the base of the plant; look for the “frass” where squash bug nymphs have burrowed— it looks like sawdust. Some gardeners gently cut the stem vertically around the wound and fish the squash bug out with tweezers, then repair the wound with gauze or panty hose (to varying degrees of success, depending on the depth of damage).
It takes 4-6 weeks for nymphs to grow into adults, so the window for potential destruction is long. However, early summer plantings may be less susceptible than spring or later summer plantings. Because summer squash is quick to mature, you can plant it through July. I stagger squash plantings throughout the summer and scatter plants around my growing space. I always know that some will succumb to borers, but I enjoy a reasonably steady harvest thanks to a varied planting plan.
Some growers also use physical barriers to block nymphs from feeding on vines— to varying degrees of success. Covering newly planted beds in a layer of floating row cover helps keep pests out (unless they’ve overwintered in the soil you’ve covered— a key reason to rotate squash plants from year to year). Old school methods of blocking borers include placing a solo cup with its bottom cut off around the seedling, or wrapping a 1-2” strip of foil around the vulnerable base of the stem.
Squash vine borers like to burrow under debris at night. Try placing a small board in your squash bed, and check underneath it first thing in the morning— there will likely be borers huddled there to collect and smash.
Also try planting a mix of squash types— NC Cooperative Extension notes that butternut, acorn and sweet cheese winter squashes are resistant to vine borers. It’s hard to beat summer squash for cooking, but Southern Exposure Seed Exchange helpfully notes that most winter squashes may be picked while immature and used just like summer squash.
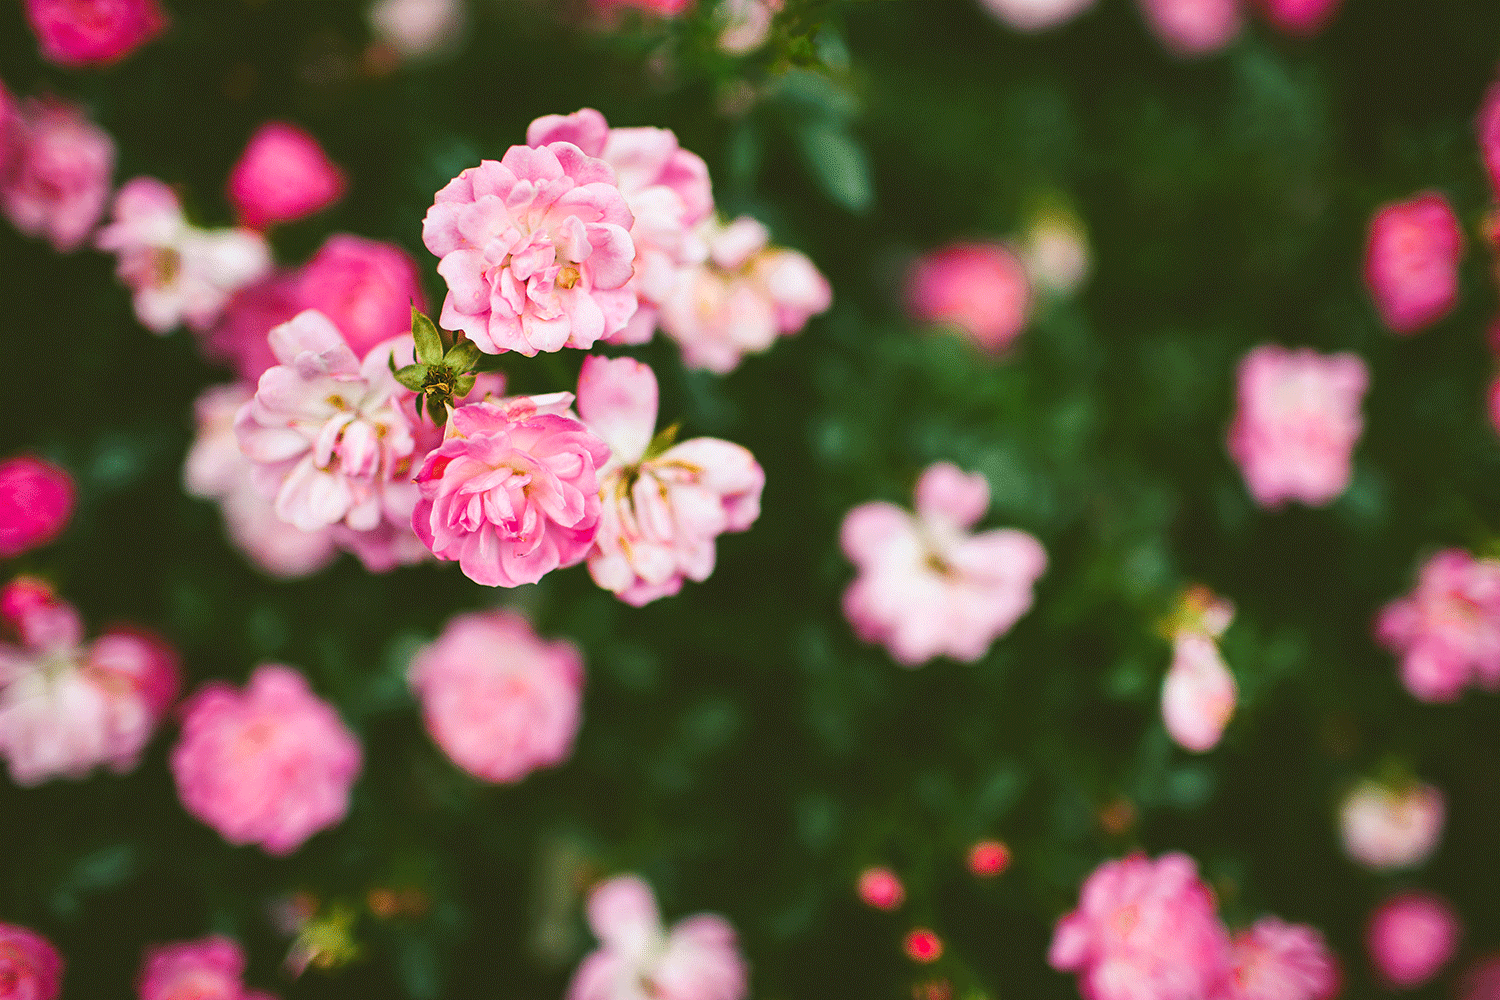
Protect your blooms from Japanese beetles
If you’re a flower grower, you likely have a fierce vendetta against Japanese beetles. These insects love to descend upon prized blooms like roses and dahlias, eat their hearts out and mate like the world’s burning. I struggle to stay ahead of Japanese beetles each summer, and my first flush of dahlia blooms is often chewed to bits.
The best way to manage Japanese beetles is to hand-pick and drown them. At dawn or dusk when they are most active, take a bucket of soapy water out to the affected area, hold it underneath infested stems and shake the stems vigorously so the beetles fall into the water. Some suggest leaving the dead beetles scattered about to deter live ones from returning. Killing beetles during their active mating phase can help disrupt the life cycle and prevent infestations, although spotty damage from these beetles is still likely.
In addition to hand-picking, spray vulnerable plants well (ideally at dusk to avoid sunburn) with a neem oil solution: 1 gallon of water with 1 tablespoon of neem oil and 1 teaspoon of natural dish soap. This solution is effective for many insects, including aphids, thrips and spider mites.
Growers producing flowers for sale often cover developing blooms with panty hose or fine netted bags to protect valuable flowers from damage. Southern Exposure Seed Exchange has additional Japanese beetle tips.
Nurture wasps to fight tomato hornworms
Have you ever had lush tomato leaves suddenly turn skeletal, and large chunks disappear from green fruit? The ravenous tomato hornworm is a likely culprit, and they’re easy to spot with their lime green bodies, diagonal white racing stripes, and tiny orange horns.
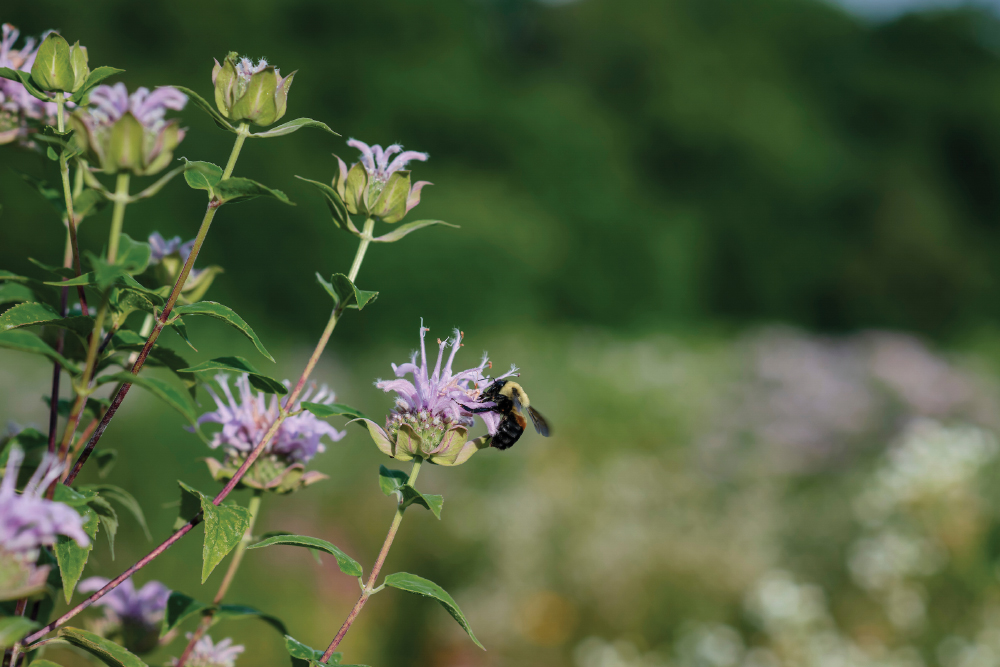
Nature often takes care of tomato hornworms for us. Look carefully at the caterpillars and see if you can find any whose backs are covered in little white sacks— almost like barnacles hitching a ride. These are pupal cases of parasitic wasps that are busy devouring the caterpillar from the inside out (nature is brutal). If left to do their thing, the wasps will hatch and fly about the garden in search of more caterpillars to parasitize. Filling the garden with nectar and pollen plants helps encourage healthy wasp populations. The wasps may also be purchased for release— just be sure you have enough food and habitat sources to support them, or they’ll fly off in search of a better buffet.
If tomato plant damage is extensive and you don’t see any signs of parasitic wasp pupae, tomato hornworms may be handpicked and squished.
End blossom end rot with consistent routine
It’s deeply disappointing to pick a beautiful ripe tomato, only to realize it has a brown, sunken bottom. Known as blossom end rot, this cumbersome issue is an indication of calcium deficiency. A ripe fruit impacted by blossom end rot is still fine to eat— just cut off the brown part.
While many people treat blossom end rot by turning first to calcium supplementation, water is the root issue which impacts calcium availability. Blossom end rot may arise either from extremely wet or extremely dry conditions, or from general inconsistency. If you notice blossom end rot on your tomatoes, peppers, eggplant or melons, mulch the plants well and revisit the consistency of your watering routine.
If you know your watering routine is consistent and your fruits are still rotten on the bottom, try side-dressing plants with a tomato-specific fertilizer like Espoma’s Tomato Tone, which is calcium-rich. Side-dressing involves digging a little trench on either side of the plant, and incorporating the recommended rate of fertilizer into that trench. This method allows plants to access the nutrients without letting the fertilizer burn the roots. Just don’t apply fertilizer if you already did so in spring— another potential cause of blossom end rot is excess nitrogen, and adding more fertilizer could compound the problem.
If fruits are still rotting after addressing water and nutrients, your pH may need adjustment— soil pH should be around 6.5 to avoid blossom end rot. Go ahead and perform a soil test during summer, so you’ll be ready to amend the soil with lime come fall (only if recommended by your results).
Get ahead of mildew’s spread
As residents of the South, we know humidity all too well. Just as certain as we are to sweat through our shirts come July, our gardens are sure to show signs of mildew at some point. Mildew issues arise from persistently high humidity, which can be avoided through good cultural practices, but not altogether dodged.
Powdery mildew is white like baby powder, while downy mildew spots are yellow and more angular than dusty. The two are quite different pathologically; Powdery mildew is a fungus, while downy mildew is caused by a parasitic organism akin to algae. Still, similar techniques will help prevent both problems.
Your best bet is to encourage healthy air flow throughout the garden, and to quickly remove any affected plant matter to avoid spread. Follow proper pruning techniques to give plants breathing room, such as removing tomato leaves that touch the ground. Cucurbits are particularly susceptible to mildew— pruning the suckers of these vines and growing them on trellises helps encourage airflow. Plant susceptible species where they can catch a breeze, rather than in between tall crops. As best you can, avoid watering the leaves of plants, and water the base instead (drip irrigation is ideal for plants that suffer from fungus).
Both mildews cause plant growth and fruit yields to dramatically slow, but they aren’t likely to kill the entire plant. If you catch the problem early, you may be able to remove just the affected leaves to avoid spread. However, if the entire plant is covered, it must be fully discarded.

Keep learning and growing
Learning to identify, prevent, and manage pests takes time. It’s different in every space and every season, so be patient with yourself as you learn. The following resources may be helpful in your process:
- Missouri Botanical Garden’s guide to tomato fruit problems
- The Southern Exposure Seed Exchange’s fantastic blog — where I often turn for pest and disease tips.
- Roundup of insect resources from NC Cooperative Extension
- Plant Pathology portal from NC Cooperative Extension
- Try the Seek app to identify insect species
- Build your gardening book collection. Books are an excellent way to learn a variety of pest management strategies, and have large photos on hand to compare against what you see in the garden. I love shopping for used books locally at Readers Corner and the JC Raulston Arboretum gift shop.
Along with doing your research, talk to other gardeners and farmers. We are all learning as we go. Comparing techniques and sharing knowledge is the way forward, especially in this rapidly changing environment.
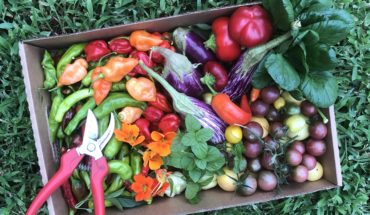
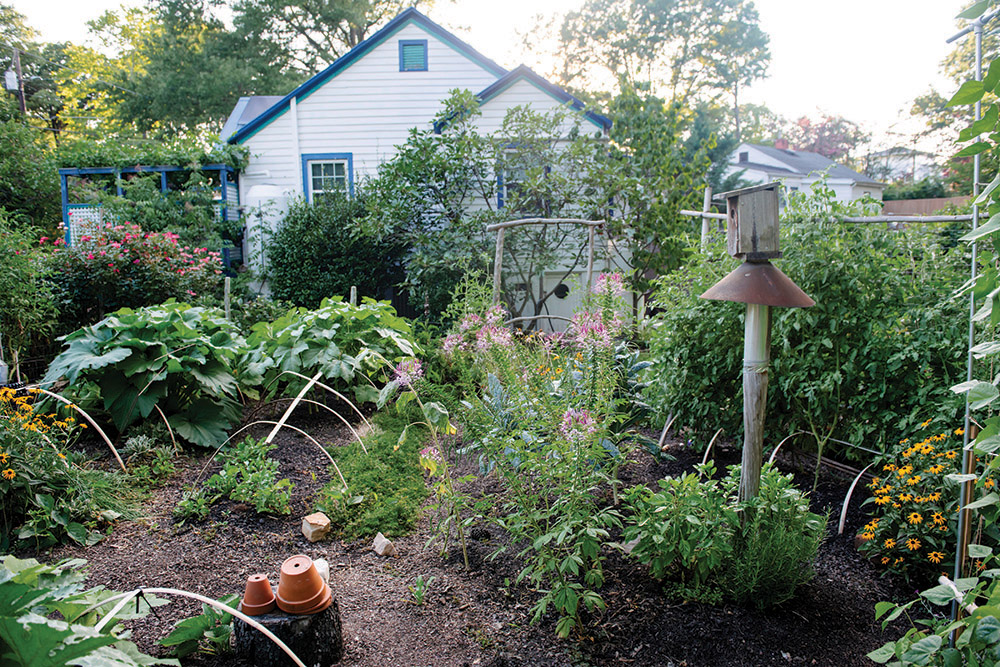
Ultimately, the wisest way to garden is to support soil and plant health, which helps prevent problems before they arise. By focusing on active soil microbes, native pollinator plants, areas for wild habitat, crop rotation, adding organic matter, companion planting and intercropping, we can create conditions where beneficial insects thrive and “bad bug” damage is kept to a minimum. The more biodiverse you can make your yard, the better— a single raised bed in a sea of manicured lawn is just begging to be devoured by bugs.
Don’t worry if your garden isn’t there yet— it’s a process, with the forces of habitat and species loss working against the health of every natural space. But imagine the potential we have to influence our environment for the better, if each of us focuses on supporting healthy, biodiverse habitats. No matter how small a space you are stewarding, your role there matters.